---
url: https://sugarat.top/technology/works/vitepress-plugin-image-preview.md
description: >-
  开发了一个适用于 VitePress 的图片预览插件 vitepress-plugin-image-preview，风格样式类似 element-plus
  的图片预览组件
---

# 开发一个美观的 VitePress 图片预览插件

## 前言

笔者维护的 [VitePress 博客主题](https://theme.sugarat.top/)已经集成了非常多的功能，为便于在主题之外复用，因此有计划将其一部分功能分离出来，形成独立的插件。

*现在又有AI加持，再已经有通用插件模板前提下，使用AI就能完成95%的插件工作量！*

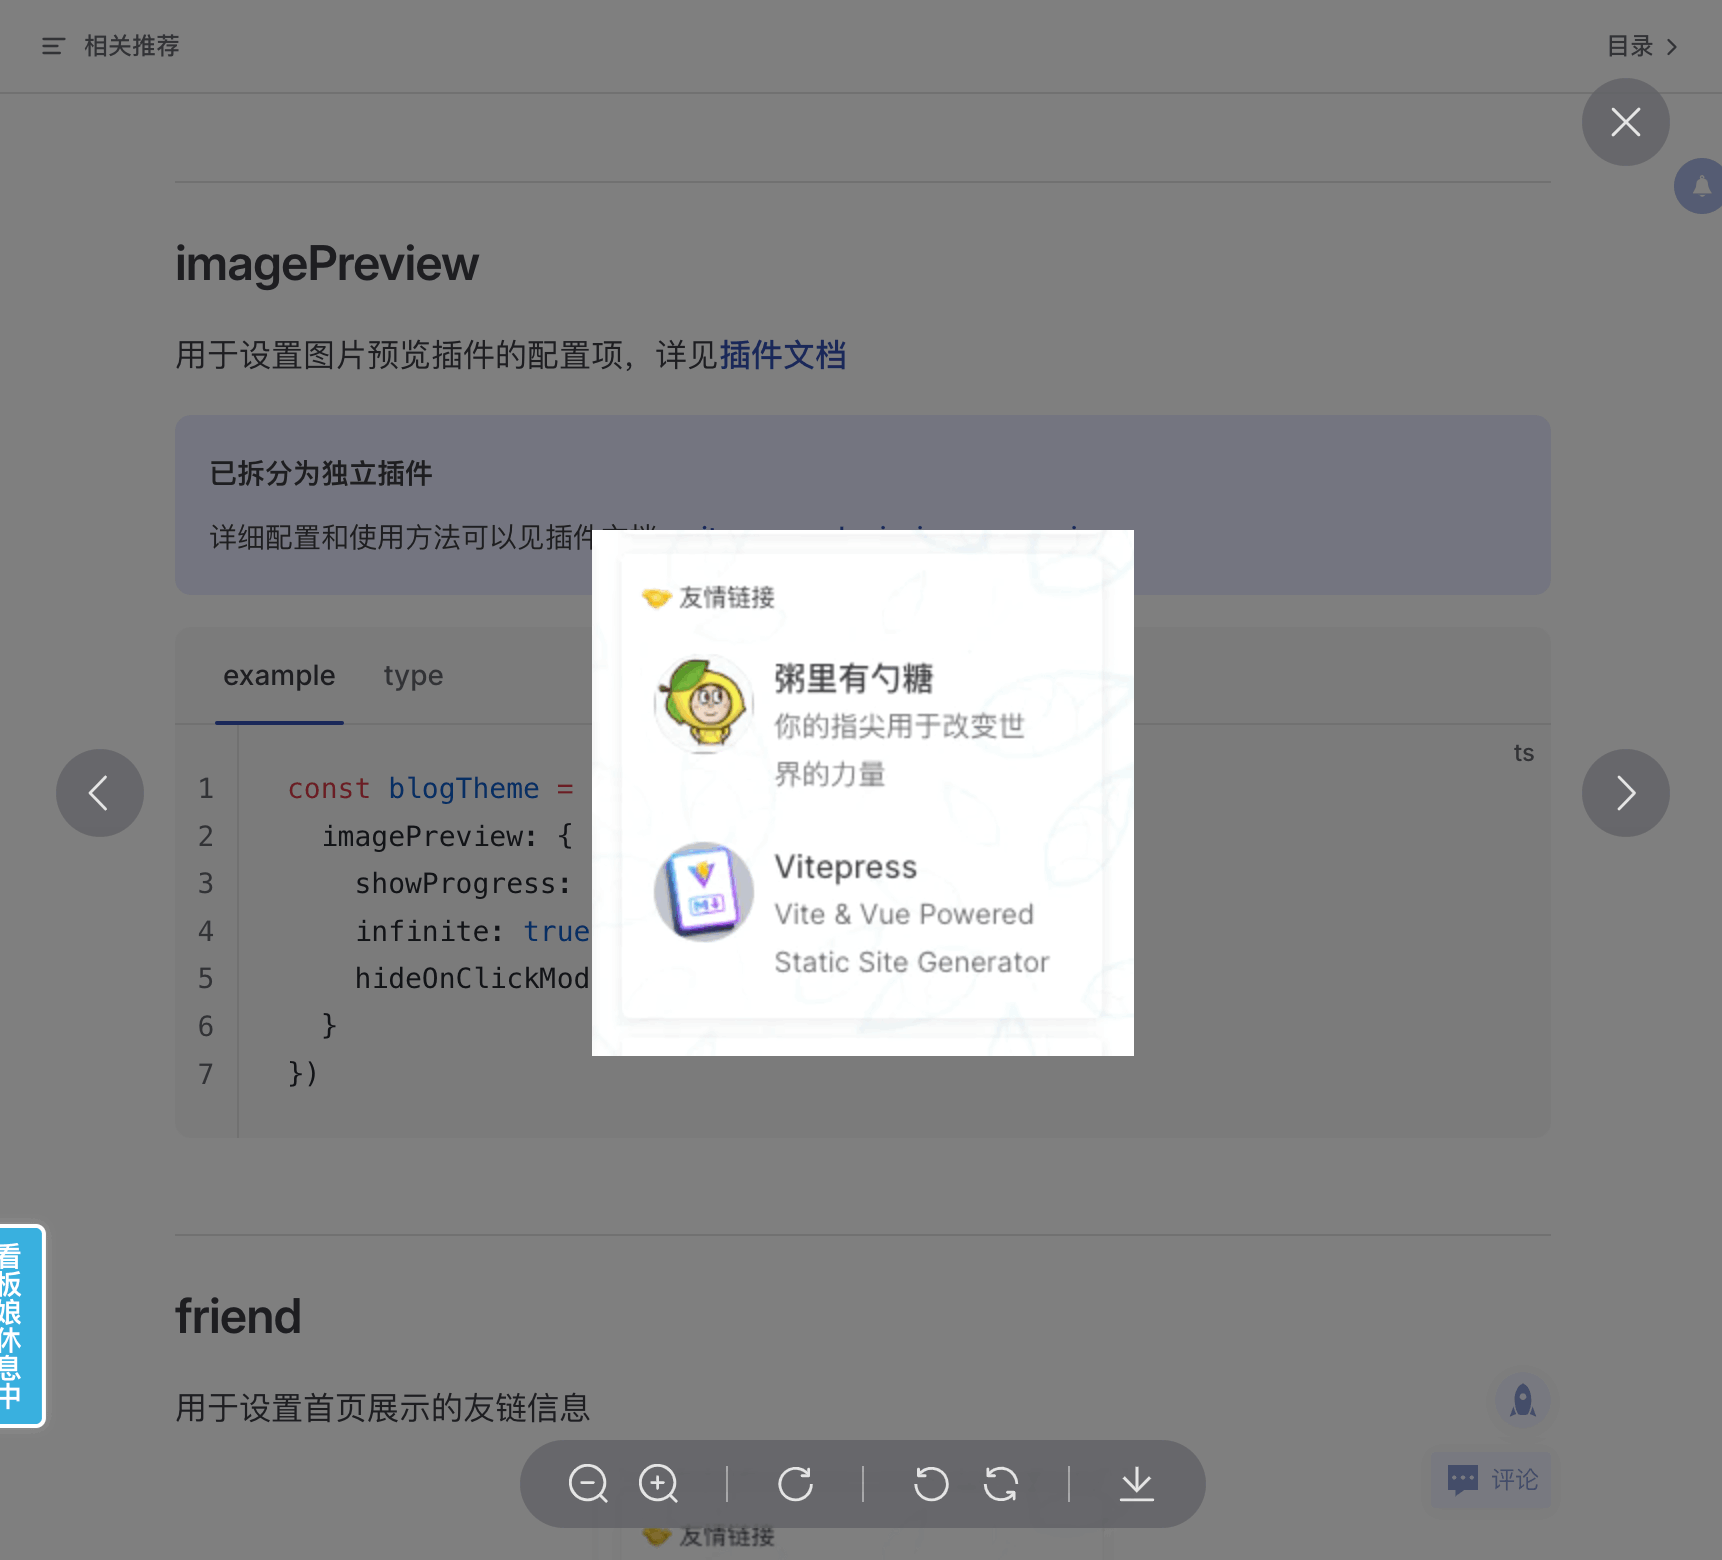
分离的 [图片预览插件](https://www.npmjs.com/package/vitepress-plugin-image-preview)，效果如下：

![](https://cdn.upyun.sugarat.top/mdImg/sugar/07a76437b3d8e12503cf42bad9b71e14)

组件样式实现参考了 [Element Plus Image Viewer](https://element-plus.org/zh-CN/component/image#%E5%9B%BE%E7%89%87%E9%A2%84%E8%A7%88)
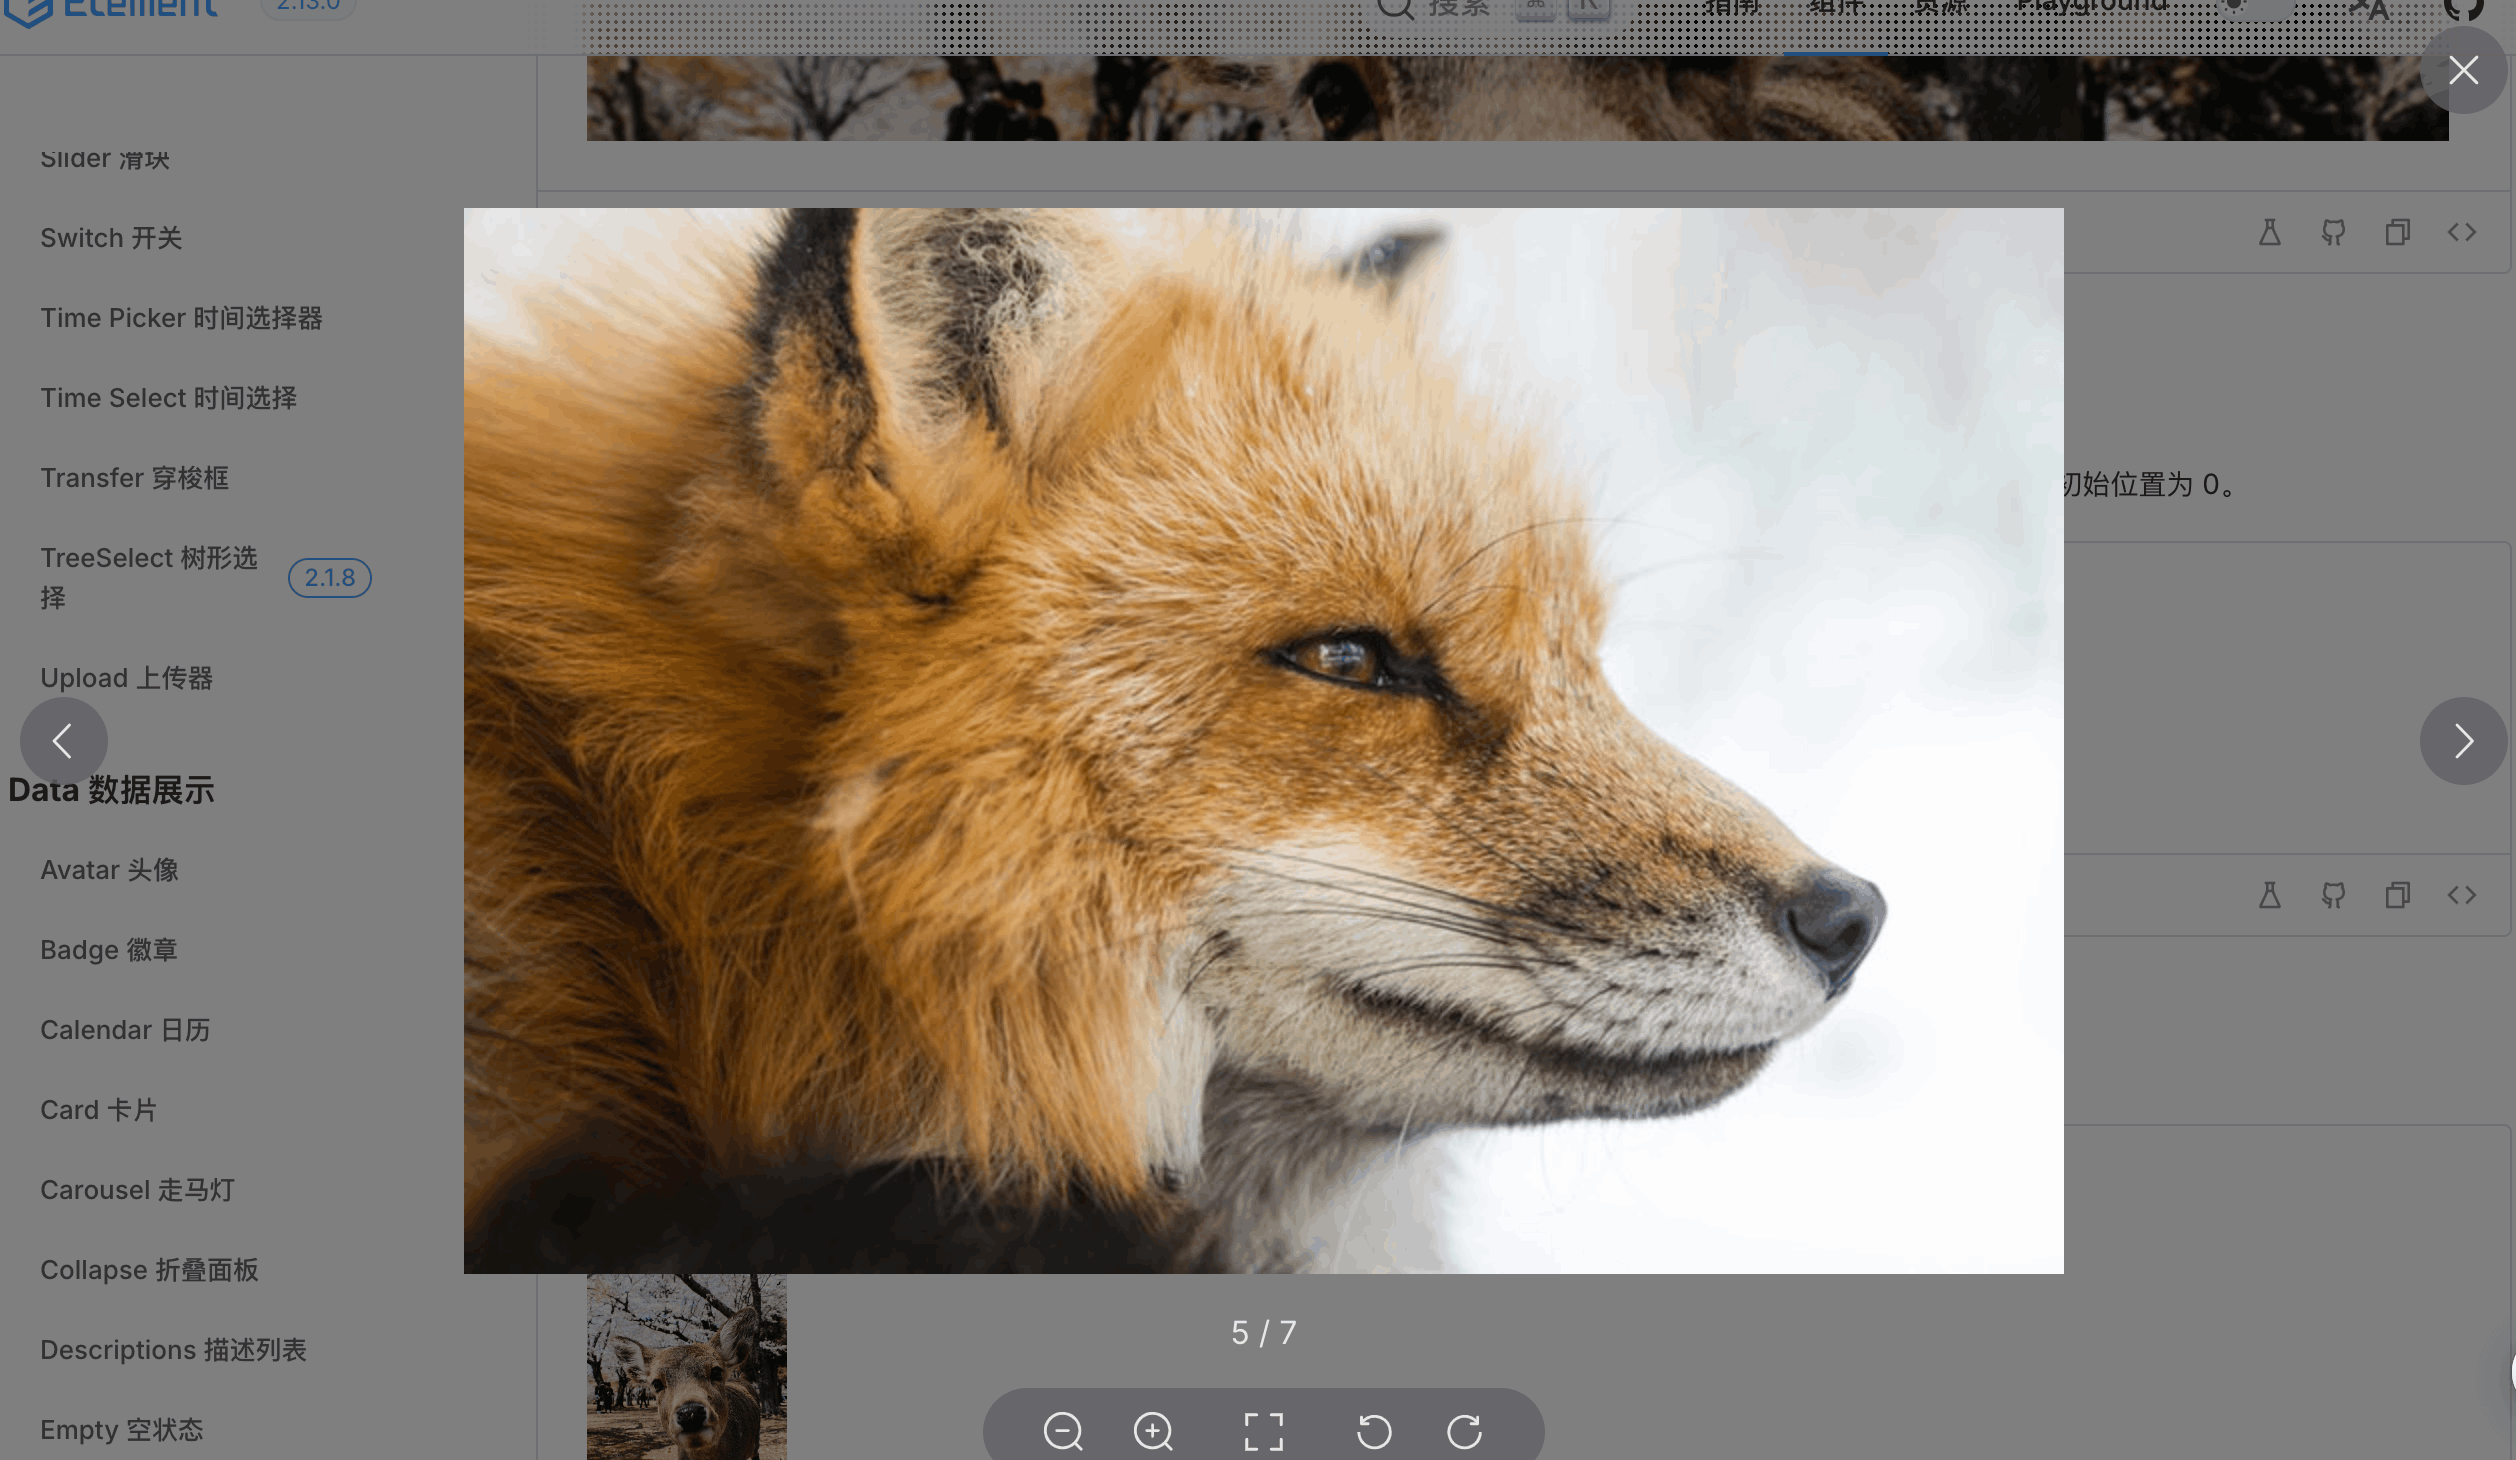
![](https://cdn.upyun.sugarat.top/mdImg/sugar/7beafd979e53845a6975a81ecde0a0db)

接下来先简单介绍一下用法，再快速讲解核心原理。

插件开发基于之前创建的一个通用模板，[vitepress-plugin-slot-inject-template](https://github.com/ATQQ/sugar-blog/tree/master/template/vitepress-plugin-slot-inject-template)，在模板的基础上，**插件95%的代码由 Gemini 3.0 生成。**

## 如何使用

*只需要 2 步：*

1. 安装插件

```sh
pnpm add vitepress-plugin-image-preview
```

2. 配置插件

引入插件在 `.vitepress/config.mts` VitePress 配置文件中

```ts
import { defineConfig } from 'vitepress'
import { ImagePreviewPlugin } from 'vitepress-plugin-image-preview'

export default defineConfig({
  vite: {
    plugins: [
      ImagePreviewPlugin()
    ]
  }
})
```

## 实现原理

*这里只阐述关键点，细节与之前的[公告插件](./vitepress-plugin-announcement.md)类似，这里不做赘述。*

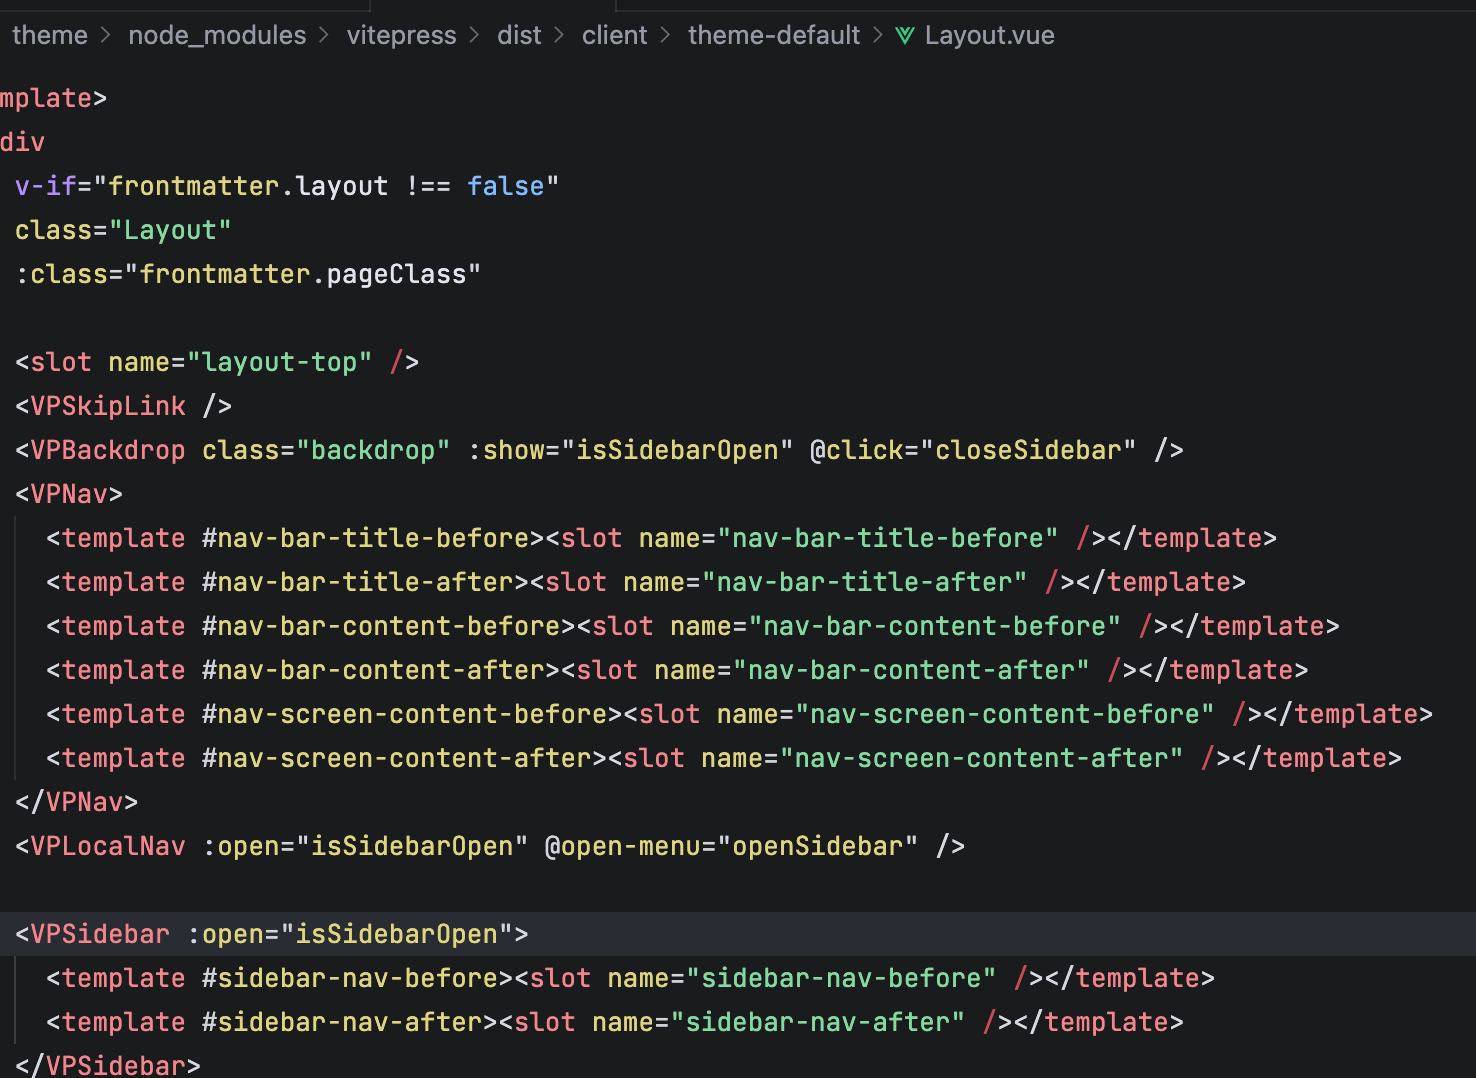
VitePress 默认主题 `Layout.vue` 组件预设的一些插槽，只需将实现自定义组件注入到对应插槽为止即可。

![](https://cdn.upyun.sugarat.top/mdImg/sugar/07bd2941fe81c0ad3d99ac0e3b5c6184)

所有的 `slots` 在 [VitePress 文档里也有介绍](https://vitepress.dev/guide/extending-default-theme#layout-slots)

### 注入自定义组件

利用插件的 `transform` 钩子，将我们的 `<ImagePreview />` 组件插入到 `Layout.vue` 的特定插槽位置

图片预览组件我这里使用的是 `doc-before` 和 `page-top` 两个插槽。

使用 alias 保证引入组件的路径正确映射。

```ts
// 仅包含关键代码
const componentName = 'ImagePreview'
const componentFile = `${componentName}.vue`
const aliasComponentFile = `${getDirname()}/components/${componentFile}`
function ImagePreviewPlugin(options = {}) {
  return {
    // 添加alias
    config: () => {
      return {
        resolve: {
          alias: {
            [`./${componentFile}`]: aliasComponentFile
          }
        }
      }
    },
    transform(code, id) {
      // 筛选出 Layout.vue
      if (id.endsWith('vitepress/dist/client/theme-default/Layout.vue')) {
        let transformResult = code

        // 插入组件
        const slots = [options.slots || ['doc-before', 'page-top']].flat()
        for (const slot of slots) {
          const slotPosition = `<slot name="${slot}" />`
          // 添加 ClientOnly 目的是避免组件在SSG的时候被渲染
          transformResult = transformResult.replace(slotPosition, `${slotPosition}\n<ClientOnly><${componentName} /></ClientOnly>`)
        }

        // 导入组件
        const setupPosition = '<script setup lang="ts">'
        transformResult = transformResult.replace(setupPosition, `${setupPosition}\nimport ${componentName} from './${componentFile}'`)
        return transformResult
      }
    },
  }
}
```

### 插件配置传递

采用虚拟模块的方式传递配置。

组件中导入配置：

```ts
import options from 'virtual:image-preview-options'
```

插件中处理虚拟模块：

```ts
const virtualModuleId = 'virtual:image-preview-options'
const resolvedVirtualModuleId = `\0${virtualModuleId}`
function ImagePreviewPlugin(options = {}) {
  return {
    // 省略其它无关代码...
    resolveId(id) {
      if (id === virtualModuleId) {
        return resolvedVirtualModuleId
      }
    },
    load(this, id) {
      if (id === resolvedVirtualModuleId) {
        return `export default ${stringify(options)}`
      }
    },
  }
}
```

### 核心交互实现

图片预览的核心逻辑在于监听图片的点击事件，获取图片列表，并显示预览遮罩。

1. **事件监听**：在 `onMounted`时，给内容的容器注册点击事件，在点击的时候获取容器中所有的图片元素，然后做后续操作。

```ts
onMounted(() => {
  const wrapperId = imagePreviewOptions?.wrapperId || '#VPContent'
  const docDomContainer = document.querySelector(wrapperId)
  docDomContainer?.addEventListener('click', previewImage)
})

function previewImage(e: Event) {
  const target = e.target as HTMLElement
  const currentTarget = e.currentTarget as HTMLElement
  if (target.tagName.toLowerCase() === 'img') {
    const selector = imagePreviewOptions?.selector || '.content-container .main img,.VPPage img'
    const imgs = currentTarget.querySelectorAll<HTMLImageElement>(selector)
    const idx = Array.from(imgs).findIndex(el => el === target)
    const urls = Array.from(imgs).map(el => el.src)
    // 省略其它逻辑
  }
}
```

2. **预览组件**：参考了 [Element Plus 的 图片预览组件](https://element-plus.org/zh-CN/component/image#%E5%9B%BE%E7%89%87%E9%A2%84%E8%A7%88)的样式与功能，这部分完全由 AI 实现(Gemini 3.0)，还原度非常高。

## 插件模板介绍

在开发插件的过程中，笔者把此类基于 slot 位置注入的插件分离了一个模板 [vitepress-plugin-slot-inject-template](https://github.com/ATQQ/sugar-blog/tree/master/template/vitepress-plugin-slot-inject-template)

有相关诉求的朋友，可以基于此模板，配合 AI 快速的开发各种基于插槽就可以实现的组件能力。

## 最后

插件完整源码 [vitepress-plugin-image-preview](https://github.com/ATQQ/sugar-blog/tree/master/packages/vitepress-plugin-image-preview)

**最后再感叹一句，AI 太牛逼了，效率起飞。**

*欢迎评论区交流&指导。*